Thursday 26 February 2015

MAC Lip Glass

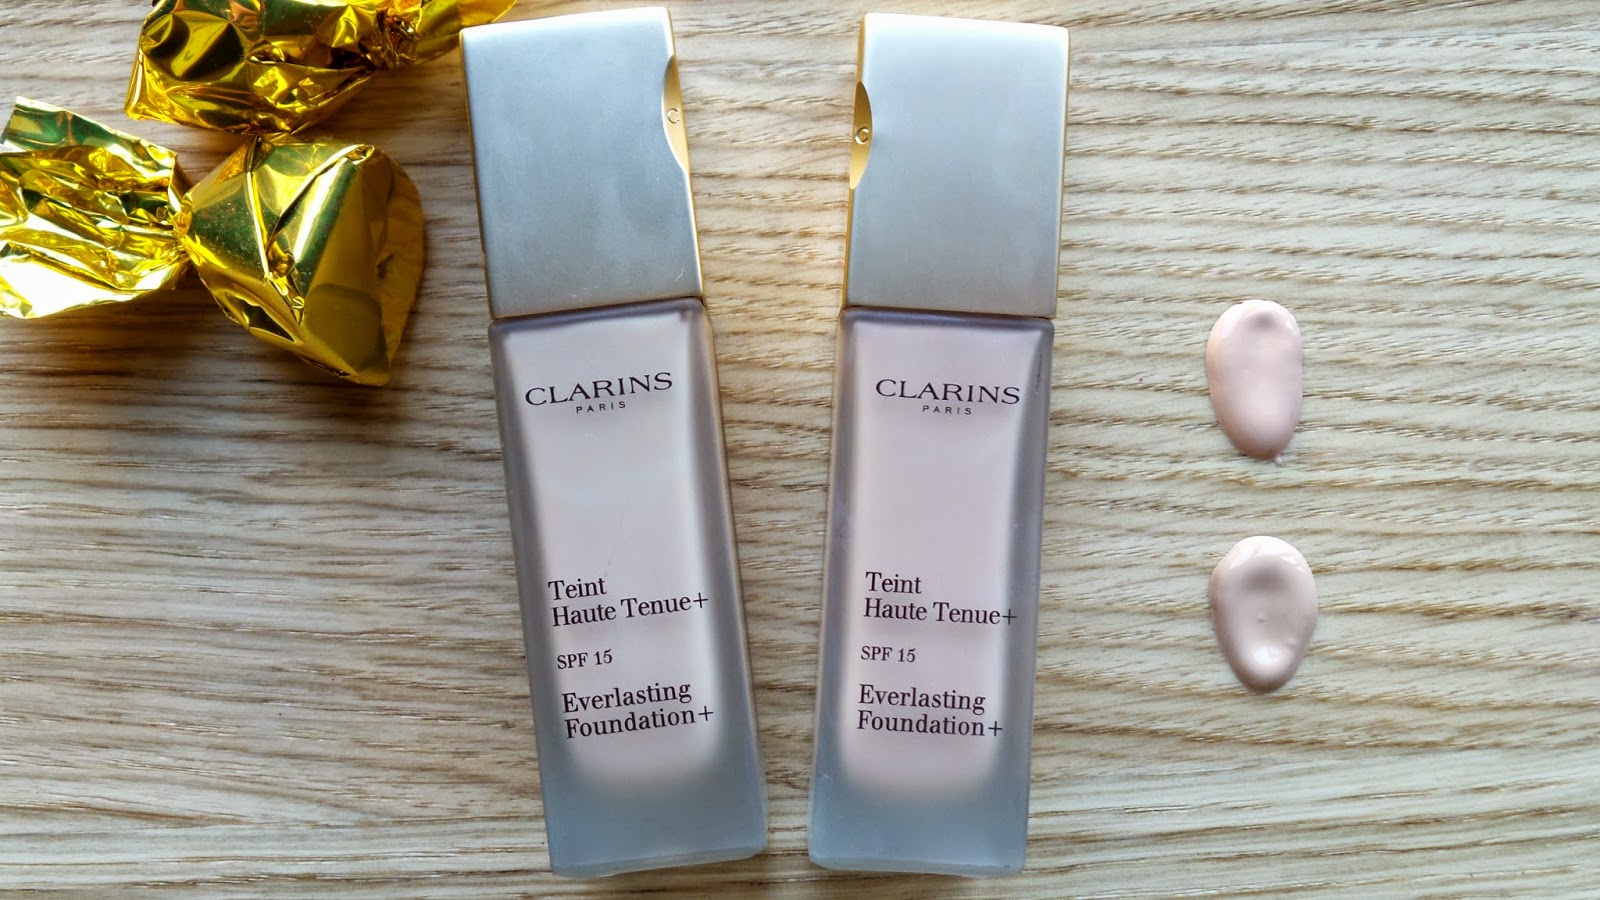
Lip Glass? Yes you read correctly. MAC lip glasses are not something that I really buy at all, in fact saying that, not even lip glosses in general. I mainly prefer a matte or cremesheene finish to my lips because having long hair and living in a country where the wind rarely sits still, hair stuck to your lips is an extremely uncomfortable occurrence. In fact, I would say that it was as bad as getting sticky hands from eating a stick of rock in the hot sunshine (we've all been there). MAC lip glasses are meant to make you lips have that 'glass' finish, namely shiny, glossy, and extremely durable. In other words they're almost like that happy medium between a lip stick and a lip gloss (hooray, a happy medium!). Recently I bought a MAC lip stick called 'Hang Up' (click here to see review) which is almost exactly the same colour as my 'Lust For Life' lip glass which you can see in the swatch below. Now, although I absolutely love the look of this lip glass as soon as I put it on, I however question its durability.

As you can see from my swatch above it is ever so glossy and pigmented. And I have to say, getting this lip glass off from my skin took a lot of hand wash and scrubbing, so you would automatically think that it was extremely durable... right? Whilst popping this lip glass onto my lips, in the first instance it felt ever so sticky but it did dry to feel like a cremesheen lipstick (which is a dream for me as I tend to suffer from chapped and sore lips at this time of year). So I cannot exactly doubt its moisturising properties because they are very good. On its own I feel that its durability only lasts between 1-2 hours before you have to top it up or, completely remove it and re-apply again due to its rather bad bleeding around the lips (so lip liner is a must!). However when I used this lip glass on top of my MAC lip stick it was an utter dream... a durability dream! I wore this combination on Valentines day where my partner and I went out for a 4 course meal and it stayed right on until the end! Therefore I wouldn't exactly rate wearing a lip glass on its own, but wearing it on top of a lip stick to gain extra gloss, sheen, and durability is the Eltoria way forward.

Above: MAC's Hang Up lip stick on the base, topped with Lust For Life lip glass... LOVE!
Have you ever tried a MAC Lip Glass before?
Much Love
Eltoria x

INSTAGRAM | FACEBOOK | TWITTER | BLOGLOVIN' |YOUTUBE| GOOGLE

New HTML: You can now find me at http://eltoria.com

Share:

Monday 23 February 2015

MAC Prep+Prime Highlighter

There are no words to this product other than it is frickin' amazing. I must live under a rock or something because I didn't know that this product even existed up and until now (and it is the solution to all contouring problems.). MAC's Prep+Prime might as well be the sister to the good ol' highlighter (yes I am on about the stationary kind) because you can easily highlight and focus any attention away from unwanted areas. Hello Hollywood cheekbones, and goodbye to the dark circles under the eyes. I cannot stress enough on how easy this little tool is to use. Many would think that highlighting and contouring ought to be left to the professionals because there appears to be 'a lot to it', but it is in fact achievable in a matter of strokes. Rather than just talking to you all through it in a blogging kind of way, I thought that it would be much easier to create a mini makeup tutorial using this highlighter in a YouTube video. And as helpful as I am, I have attached this video at the end of this post for all of your kind attentions (winky wink). Now, although this post may not exactly be a step by step guide on how to highlight and contour your face (I have left my vlog to do the talking there), I can sure tell you a little more about it!

As this highlighter is a liquid, this product must not be used on top of a powdered foundation. After all the the golden rule is that 'powders must come after liquids'. Using liquids on top of powders will cause the product to separate and will inevitably make your makeup to look incredibly cakey and messy. Not cool. As I have a slight tinge of yellow to my skin, the shade that I am using above is called Light Boost. MAC also do two other shades called Radiant Rose (which is perfect if you have more of a pink tinge to your skin) and Bright Forecast (which is more suitable to darker skin tones). Whilst I may not use this highlighter every single day, it is perfect when wanting to sculpt out the perfect night out look. So grab that LBD and your dancing shoes, because MAC's Prep+Prime will sure keep you looking fabulous until sunrise.

Above Light Boost: This product is just genius at smoothing out shadows, covering up dark circles under the eyes, and creating sculpted highlights on the bone structure. Below: learn how to use, sculpt, highlight and contour using this product.

What's your favourite highlighter when it comes to contouring?
Much Love
Eltoria x

INSTAGRAM | FACEBOOK | TWITTER | BLOGLOVIN' |YOUTUBE| GOOGLE

New HTML: You can now find me at http://eltoria.com

Share:

Sunday 22 February 2015

How to Contour & Highlight

As I've already mentioned twice this week, I promised you guys a contouring and highlighting video and now it's finally here! Contouring and highlighting is the perfect way to enhance your your facial features whilst creating a 3D effect and Hollywood finish. I tend to contour my face on a daily basis but I love to add in a highlighter to create the perfect 'night out' makeup look. You can just use liquids for contouring and highlighting if you want to but make sure that the contour is at least 4/5 shades darker than your natural skin tone (tip: you can pick up an affordable foundation from the drug store). Or if you are like me and don't like using too much liquids on your face, you can use a powdered contour but make sure that this is the last thing that touches your face as liquids after powders can cause the products to separate and inevitably look cakey. Although I would consider the above to be one of the most important tips to contouring there are however many more. You can check out those other tips and how to contour your face by watching my video below (or click here). It is up to you what products you would like to use but below I have listed the ones that I like to use:

♥ Real Techniques Stippling Brush
♥ Real Techniques Pointed Foundation Brush
♥ Real Techniques Contouring Brush
♥ Real Techniques Expert Face Brush
♥ Sheer Cover Angled Brush
♥ MAC Pro Longwear Foundation in N18
♥ MAC Bronzing Powder in Refined Golden
♥ MAC Prep+Prime Highlighter in Light Boost

Above: click the thumbnail (or here) to watch my step by step guide on how to contour (and it is so so easy). Below: I have created many contoured looks on Instagram so be sure to go and check them out. It is amazing how a contoured finish can really change the shape and dimension to you face. Love, love, love!

Will you be trying out a contoured and highlighted look?
Much Love
Eltoria x

INSTAGRAM | FACEBOOK | TWITTER | BLOGLOVIN' |YOUTUBE| GOOGLE

New HTML: You can now find me at http://eltoria.com

Share:

Thursday 19 February 2015

HD Brows Review #2

Some of you will remember that a few months a go I started going for HD brow treatments and I instantly loved the results (click here to read that post). Well this post is really just to give you all an updated version on my thoughts and feelings on the treatment itself (I mean opinions do change over the forthcoming months). I would say that my opinions on HD brows have rather grown into an obsession, I honestly feel that I now cannot live without them (I know, I sound rather pathetic) but it's so true. The last time I got my brows done was just before Christmas and due to work commitments, I unfortunately could not make my next appointment so I had to re-book it for 2 weeks later (which meant I had to go around with bad looking brows for a couple of weeks... not cool). Since not having HD brows for a couple of weeks I have noticed the following: number 1. it is so much more harder to fill in and shape your brows, number 2. Your brows some how look uneven, number 3. they change the dimension of your face, and  number 4. your brows naturally look so much more sparse than normal. I know the problems of all problems! (dramatic emphasis intended).

The image on the left shows my brows after my first ever appointment, and the image on the right shows my brows after my fifth appointment. This time I opted to have my brows a little more thicker and I think you can really tell this in the image on the right.

The image on the left are my eyebrows before my first appointment, and the image on the right are my eyebrows before my fifth appointment. Both sets of eyebrows look a little sparse and if you compare them to the images above, they are a lot thinner and shapeless too. I would say that getting my brows HD'd every 6 weeks is just as important as getting my hair trimmed. I feel like such a pampered pooch!

Now for a little reminder, why do I think HD brows are so good? Rather than just getting a wax or a tweeze, you pretty much get the whole 'shabang' namely: tint, wax, tweeze, trim, and threading. Sounds a lot but this is to ensure the 'HD' effect. As previously in my last post on HD brows, this treatment is for all; if you hate the look of your eyebrows or want them to look more arched and thicker this can be done in just one sitting. Before you have the treatment you will be asked to take a skin patch test and will be advised to avoid a number of things, for example, the use of fake tan before your appointment as this can turn your brows green! #hulkeyebrows yuk! Most salons change around £30.00 for this treatment and although quite expensive, having celebrity fit eyebrows is enough to add an extra spring in your step (it certainly has for me!)

Have you/or will you get your brows in HD?
Much Love
Eltoria x

INSTAGRAM | FACEBOOK | TWITTER | BLOGLOVIN' |YOUTUBE| GOOGLE

New HTML: You can now find me at http://eltoria.com

Share:

Tuesday 17 February 2015

What Hair Cut & Style Will Suit Your Face?

I got sent this nifty little step by step guide on the perfect hair cut and style for your face shape from coolblades.co.uk and I think that it is excellent! Everytime I go and get my hair cut or styled by my hair dresser I always 'um and ah' about what new hairdo to go for. I think that most of us ladies tend to think that our hair styles are boring or, especially for me, whether a fringe will suit my face shape. It is a never ending thought and I always tend to 'chicken out' at the last second (me and probably millions of others in the world). I didn't actually realise that there is actually a way where you can measure your face to determine what hair cut and style will suit you (I know, why didn't I know about this sooner?). The way to do this is to measure across your forehead and along your jaw line at the widest point, measure your cheek bones at the widest length, and measure the length of your face in a cross shape method (click here to see the diagram). Once you have your measurements go to coolblades.co.uk to check out what face shape you have, and then use the guide below to find out what hair cut and style will suit you! As simple as that.


I personally have a heart-shaped face and do currently have my hair styled long(ish) with long layers (result). I also love that the above gives you a number of make up tips per each look, and I will be posting a contouring make up video this Sunday for those of you who have been advised on a contoured look (so stay tuned on my YouTube channel for that). Do give coolblades.co.uk a share on your social media pages, I'm sure many of your friends will appreciate the advice.

Which face shape are you? Let me know in the comments!
Much Love
Eltoria x

INSTAGRAM | FACEBOOK | TWITTER | BLOGLOVIN' |YOUTUBE| GOOGLE

New HTML: You can now find me at http://eltoria.com

Share:

Sunday 15 February 2015

Clarins Everlasting Foundation

You all know me, usually liquid foundations are a major no no. A few years ago I decided to ditch the liquid foundation for mineral powder because the slightest bit of foundation on my face would lead to a break out. I know I am so unfortunate. So with with a tortuous skin completion which has taken years to get right, the thought of using liquid foundations on my face again was a major gamble. For the last few weeks I have been using Clarins Everlasting Foundation (click here) and I am stunned to say that I have not even had one break out... not even one spot. Although I have not been using this foundation everyday, usually just wearing foundation on a night out would inevitably lead into a 6 day break out. So the results of this foundation have been really pleasing. In combination with both primer and concealer, I would say that this foundation is light enough to not make your skin feel cakey, gloopy, or too greasy. Hallelujah!  

As you can see from my swatches above, 108 Sand is a perfect match for my skin tone. As I have a slight olive tone to my skin (believe it or not), 108 Sand is more suitable due to its yellow tone whereas 107 Beige has more of a pink tone which I love to use under my eyes when I contour. This Sunday I will be uploading a video on contouring so stay tuned to find out why using a different shade to your normal foundation colour is more effective under the eyes. Personally I wouldn't say that this foundation was wholly matte because it does leave a slight dewey finish on the skin; so overall I would say that there was a happy medium between the two. Overall I found that this foundation was amazing at eliminating blemishes and redness to the skin, but it doesn't look like you've caked yourself in makeup (I'd say a natural veil of healthiness). I would imagine that this foundation would not exactly cover up freckles so it would be a perfect foundation if you want to embrace them. Oh and before I forget, these foundations smell like melons... yummy! Check out my Clarins Everlasting Foundation look below:
I'd say that it helped to create a great Valentines Day Selfie. You can pick up a bottle for just £27.50
Will you be giving Clarins Everlasting Foundation ago?
Much Love
Eltoria x

INSTAGRAM | FACEBOOK | TWITTER | BLOGLOVIN' |YOUTUBE| GOOGLE

New HTML: You can now find me at http://eltoria.com

Share:

Wednesday 11 February 2015

LUSH Bath Bombs & Bubble Bars

 There's nothing like ending the perfect weekend with a roast dinner and a hot bubbly bath; Sundays are most definitely my anticipated days for being lazy and pampered. LUSH bath bombs and bubble bars play a key role in my Sunday routine and here's why. Whilst most bath products have a hard time in making themselves known in our bath tubs (meaning that they lose scent and smell rather quickly) you sure will know if a LUSH bath product has invaded your waters. Glitter, colour, and popping candy... need I say more? With rainbow water, glaciers for bubbles, and silky soft skin after each and every use, there's no wonder why LUSH are a leading brand in the bath room department (I mean just look at those colours!). 

 LUSH bath bombs contain sodium bicarbonate, citric acid, and cream of tartar which explodes into a fizzling dream as soon as it hits the water. You can use a whole bath bomb for one bath or savour it by cutting it into half (the latter may be a good idea if you have slightly sensitive skin). On the other hand, crumbling a bubble bar into your bath water will release the moistening properties of the cocoa butter which will take you to the glaziers and back (trust me the bubbles are huge!). What I like about the bubble bars is that you can often get up to 3 baths or more out of them. If you have sensitive skin and are put off by the garish colours and the strong smells, LUSH actually stock bath products which are suitable for sensitive skin so go and check them out (Dream Time bath melt, Butterball bath bomb, and Creamy Candy are personally my recommendations). So with my mini crash course put to one side, check out the LUSH bath products that I cannot live without:

Secret Garden: This bundle of joy is just perfect for the up and coming Spring months. With Rose Oil, Rose Absolute, and sweet Orange Oil, unlock a bouquet of flower petals into your bath time. This bath bomb is from the new Mother's Day range and you can get it for £2.95.
A French Kiss: this has to be hands down one of my favourite bubble bars of all time as I just love how relaxed it makes me feel. This bar contains Lavender Oil and Lavender Absolute which is just perfect before bed time. You can pick up this bubble bar for £4.25.
Big Blue: this bath bomb is honestly like going for a spa treatment as it's ever so rejuvenating on the skin. This bath bath bomb is littered with sea weed and sea salt which will leave your skin feeling soft. I actually made this bath bomb at a recent LUSH event that I went to (I know too cool). You can pick up this bath bomb for £3.35.
Rose Jam: this bubble bar is the mother of one of the most loved limited edition Christmas shower gels of all time... ROSE JAM (ironically). This bubble bar contains rose oil, geranium oil, and shea butter which is just perfect for sore and dry skin (kind of smells like rose water but much better). You can pick up this bubble bar for £3.65.
Brightside: if a satsuma can be a bubble bar this would be it (this bubble bar is really ideal in the summery months). I love how fresh and upbeat this bubble bar makes you feel, and guess what it smells like? I'll let you figure that one out. With up to four uses, you can pick up this bubble bar for £4.75. It is great value for money.
Twilight: this bath bomb has to be my favourite of all time! With a hint of lavender and ylang ylang, this bath bomb will sure send you to the moon and back. This bath bomb will turn your water white, pink, blue, and purple (and not to forget the twinkle from the agar agar glitter!). You can pick up this bath bomb for £3.35.
Do you have a favourite LUSH bath product? Which one would you buy?
Much Love
Eltoria x 

INSTAGRAM | FACEBOOK | TWITTER | BLOGLOVIN' |YOUTUBE| GOOGLE

New HTML: You can now find me at http://eltoria.com

Share:

Monday 9 February 2015

Favourite Shower Gels

 Let's face it, shower gels have to be one of the most used products in human daily life. Stepping into a shower without a luxurious bottle of gel would quite honestly be one of the worst things to happen. Imagine just waking up, stepping into the shower, and ferociously squeezing out shower gel from a bottle which has none in it (we've all been there). It's like skipping breakfast or a cup of coffee in the mornings; it just doesn't bode well in an organised morning routine. Whilst working at LUSH Cosmetics I developed a rather expensive taste for luxurious shower gels (damn you 50% off staff discount). I tend to find that expensive shower gels have a longer lasting effect on the skin which lingers for hours after use (it's almost as good as fresh sheets on a bed). I've hit a soft spot there haven't I? As I am now without a staff discount at LUSH, I have had to find much more affordable alternatives and to be honest, I think that I have found the perfect brand! Whilst I cannot completely banish LUSH shower gels out my life, here are my current favourite shower gels which will even suit the pay day blues.

Yummy Mumming comes from LUSH's Mother's Day range and it smells absolutely incredible! It's scent is based on Strawberry Feels Forever which in a previous post (click here) I said that it was like smothering a bowl of strawberries and cream all over your body. What individual could possibly resist that? Whilst this shower gel does smell rather berry like, it strangely contains Brazilian Orange Oil, Tonka Absolute, and Geranium Oil which are all highly moisturising and thickening. Yummy Mummy and Rose Jam have to be my favourite shower gels of all time, and you can pick up a 250g bottle up for £9.50. This has to be one of those gels which are just perfect after pay day!

Treacle Moon shower gels have to be one of the best affordable alternatives to LUSH gels. From Raspberry Kisses to Those Lemonade Days these shower gels smell incredible. The two that I got above are just perfect for day and night showers; Warm Cinnamon Nights for the night time and Honeycomb Secret for the mornings. Warm Cinnamon Nights smells very similar to LUSH's Christmas shower gel Glogg, and the Honeycomb Secret has a slight similarity to 'It's Raining Men' or 'Honey I Washed The Kids' soap. I picked up these shower gels in Tesco and they only cost £3.99 each (and the bottles are huge!). They have many other different scents in their range so do make sure that you go and check them out. 

As you can see above, there isn't a difference in texture at all Left: Yummy Mummy Middle: Cinnamon Nights Right: Honeycomb Secret

Which one do you like the sound of?
Much Love
Eltoria x
INSTAGRAM | FACEBOOK | TWITTER | BLOGLOVIN' |YOUTUBE| GOOGLE

New HTML: You can now find me at http://eltoria.com

Share:

Sunday 8 February 2015

LUSH New Collection| Mother's Day & Valentines 2015

Hello dolls! Well it's strange for me to say that this is the first time that I have blogged in a week; I know, where on earth have I been? Last week was an extremely busy one for me, I've been attending blogger events, seeing friends, being beaten up by my PT in the gym (not literally of course) went to London, and filmed with Chip Daddy. Although I can't say that I'm grateful for the horrific cold that I've picked up along the way (currently feeling sorry for myself whilst clutching a hot water bottle). Talking of blogger events, last Thursday evening I attended LUSH Spa's first blogger event (since opening their new store) and it was such a lovely evening. Some of you will know that I used to work in the LUSH's Bath store so it was great to see old work colleagues in their new 'lushified' environment. It still smelt great don't worry. So myself, Beky, Melody, and Beth went to check out LUSH's brand new Valentines and Mother's Day range and it really does not disappoint. To show the products off in much clearer way, I popped them all into a video so that you can see what they do and what they look like. You can check out the video at the end of this post (or click here).

Bubblegrub £2.95
Lonely Heart £3.50
Heart Throb £3.65
Not only did I go and check out the brand new products, I also got to make one! In the image below I am popping on my latex glove in readiness to make a Big Blue bathbomb (and they are so so easy to make!). If you guys would like me to write a post/make a video on how you can make your own bathbombs then do let me know. It was also great to check out the store's brand new image; it looks like a homely kitchen with a modern but rustic edge (if that makes sense?). I recall Beth asking one of the sales assistants what the counter tops were made of so that she can remember it for her future kitchen (smiley crying emoji). You've got to laugh.

Now that I'm back into the blogging swing, I have some exciting posts for you planned (someone's got to blog about the amount of things that I bought from this blogger's event!). So stay linked to check those out (a little bit of MAC will be appearing too!).

What product do you like the look of?
Please also link, like, and subscribe if you liked it!
Much Love
Eltoria x

INSTAGRAM | FACEBOOK | TWITTER | BLOGLOVIN' |YOUTUBE| GOOGLE

New HTML: You can now find me at http://eltoria.com

Share:

Sunday 1 February 2015

Lifestyle| Longleat Lights & Vlog

Well isn't this rather a colourful post for you all (and a slight taste of a belated Christmas!). As I live near Somerset in England, a place called Longleat has to be hands down one of my favourite places to visit in the world. It was also one of those places that you went to as a child and it will always continue to be one of those memorable places to visit (whether you are a teenager or a grandparent). This year they decorated the whole estate with Chinese Lanterns and it looked phenomenal! I think this may have been their first or second year of doing so, but it was such a hit that they kept the lights up until February. So lucky for me, (as I had no extra free time to go over the Christmas period) myself and two friends decided to go one Sunday evening and it sure was worth the whole £12.00. Although the weather was so cold, it was wonderful to see all of the Chinese culture to come to life (acrobatics were of course included too). But you'll have to watch the video below to see that. Talking of videos, this is my first ever time vlogging (except that one time I went to Harry Potter World and my iPad decided to delete everything) so I am quite excited to introduce this to my channel. Not only will you see the beautiful lights and acrobatics in action, you will also see what I got up to in the week. But be sure to check out the video at the end of this post (or click here); please also link, like, and subscribe dolls!


Be sure to watch my first vlog!
Much Love
Eltoria x

INSTAGRAM | FACEBOOK | TWITTER | BLOGLOVIN' |YOUTUBE| GOOGLE

New HTML: You can now find me at http://eltoria.com

Share:
© Eltoria | All rights reserved.
Designed by Eltoria | Built by pipdig.co